| The Metrology Problem The ability to measure optical surfaces is of paramount importance both for their production in-house, and for the quality-control of externally procured elements. Interferometry provides an important solution, but it is not always simple to use. In particular, testing aspherics usually demands a null lens or null system, which itself may be prone to error in construction or alignment in use (Hubble Space Telescope is the now-classic example). An independent test, not relying on a traditional null lens, is therefore highly desirable. The Metrology Survey Currently, a survey is underway at OSL into metrology methods suitable for aspherics. The survey embraces all relevant techniques, such as photogrammetric and laser scanning techniques, computer-generated holographic null components, derivatives of the Foucault test etc. Interferometry
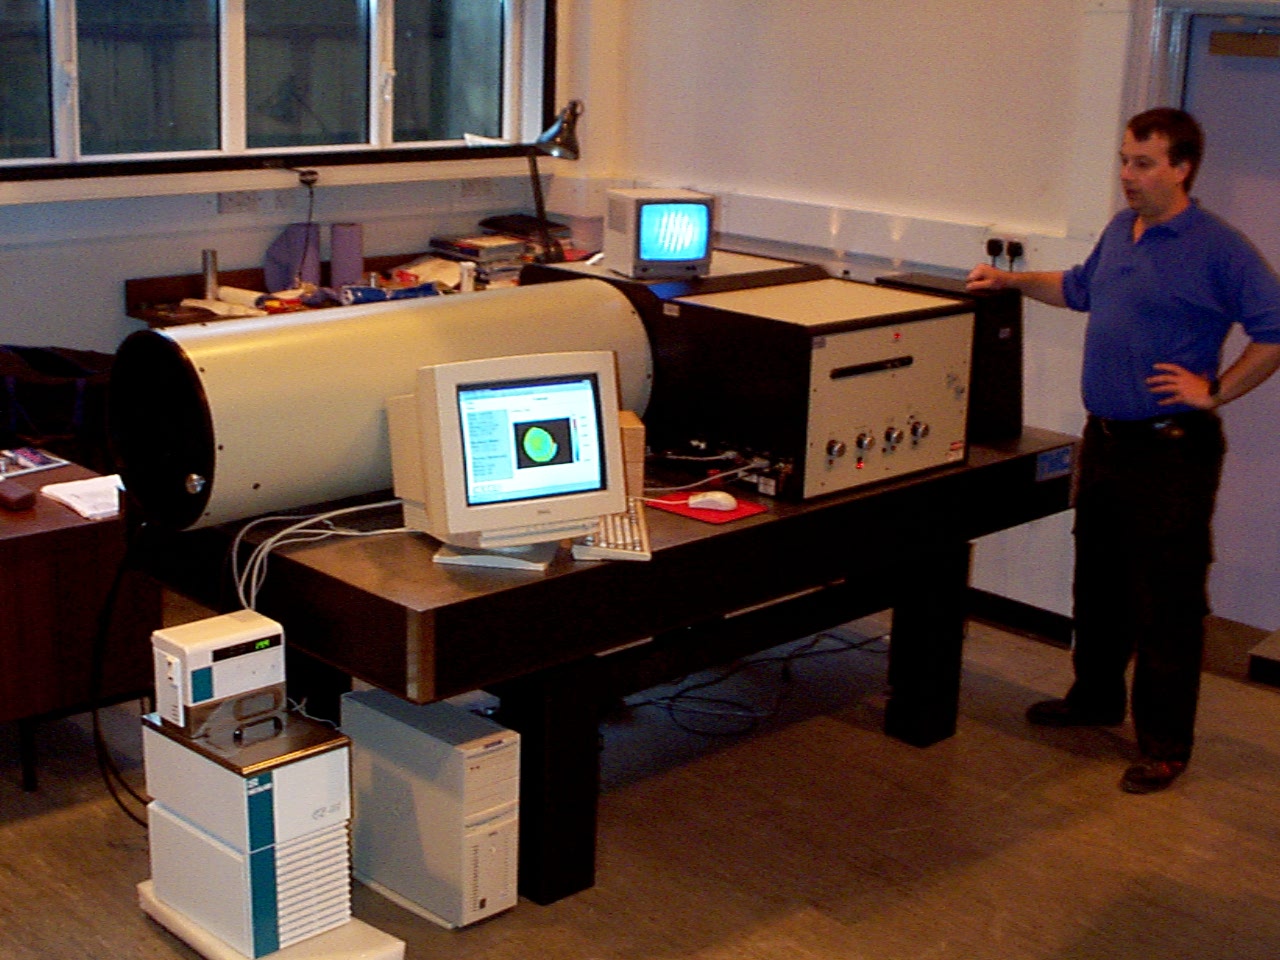
One instrument in the Laboratory particularly relevant to testing aspherics is the Wyko IR3 10.6 micron phase-shifting interferometer. The IR3 can directly handle some 30 waves (at 10.6 microns) of aspheric departure i.e. with no null lens. Whilst extremely useful, this is not a feasible approach in all cases, for example when testing large convex hyperboloids and specialised surfaces such as saddles. The lateral shearing interferometer is another approach that can handle substantial aspheric departure, and OSL acquired such an instrument from the former Grubb Parsons company. The Laboratory has an on-going programme developing techniques such as the shearing interferometer, including data processing methods. Profilometer Development To complement other test methods, a 1m capacity contact-probe profilometer is being developed for testing both small and large optics. This is also being used for measuring other samples in the Laboratory.
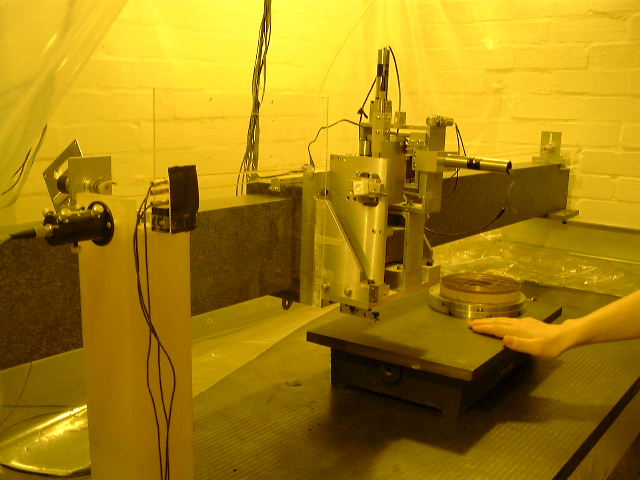
This profilometer is based on the following general scheme: An air-bearing carriage on a 1.5m granite beam carrying a metrology head containing the probe assembly A low contact-force contact-probe, with a polarising interferometer to measure height with respect to: A laser beam in free air defining a reference of straightness A polarising interferometer to measure horizontal displacement A PC-based software system to capture and analyse data Fringe interpolation in a DSP to provide distance metrology at 1/16 fringe resolution, and direction information
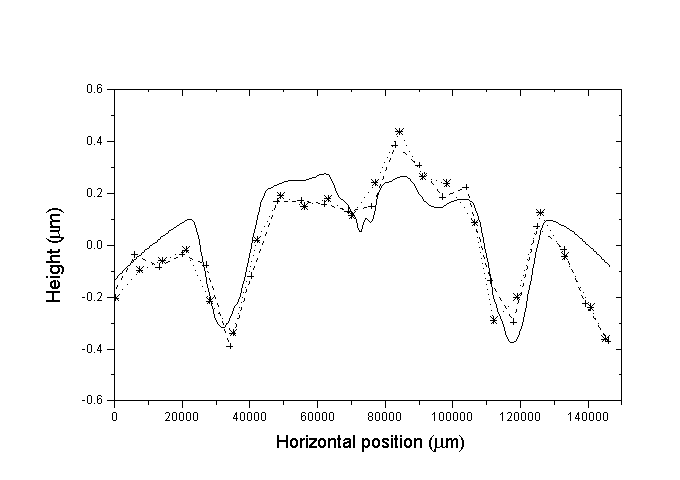
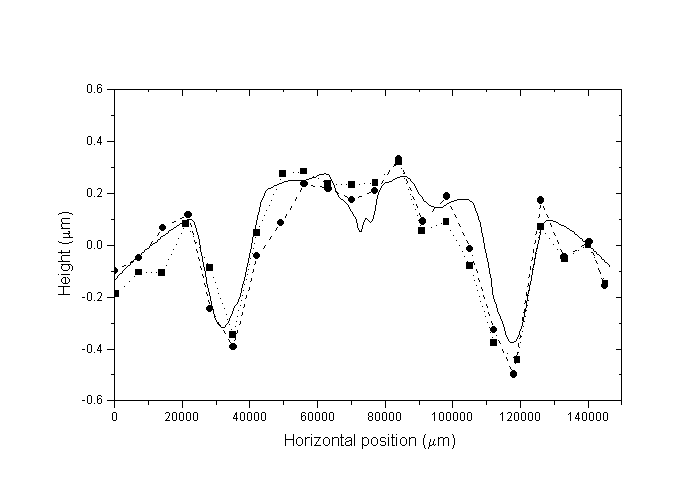
The instrument has been integrated and is currently being tested. The software does not at present correct for Abbe errors when measuring curved surfaces (that is, errors of height caused by minute lateral errors in probe positioning originating e.g. in pitch and yaw of the carriage as it traverses the granite beam). Therefore, the profilometer is used differentially (i.e. with respect to a standard spherical surface) when testing samples with significant curvature. Pitch and yaw errors have been characterised experimentally, and will subsequently be used for software correction of the Abbe errors. Preliminary results with the profilometer are shown below.
Profiles of two series of point by point measurements of sample without the laser reference system enabled. The solid line is the profile produced by the WYKO 600 phase-shifting interferometer
Profiles of two series of point by point measurements of sample with the laser reference system enabled. The solid line is the profile produced by the WYKO 600 phase-shifting interferometer
|


